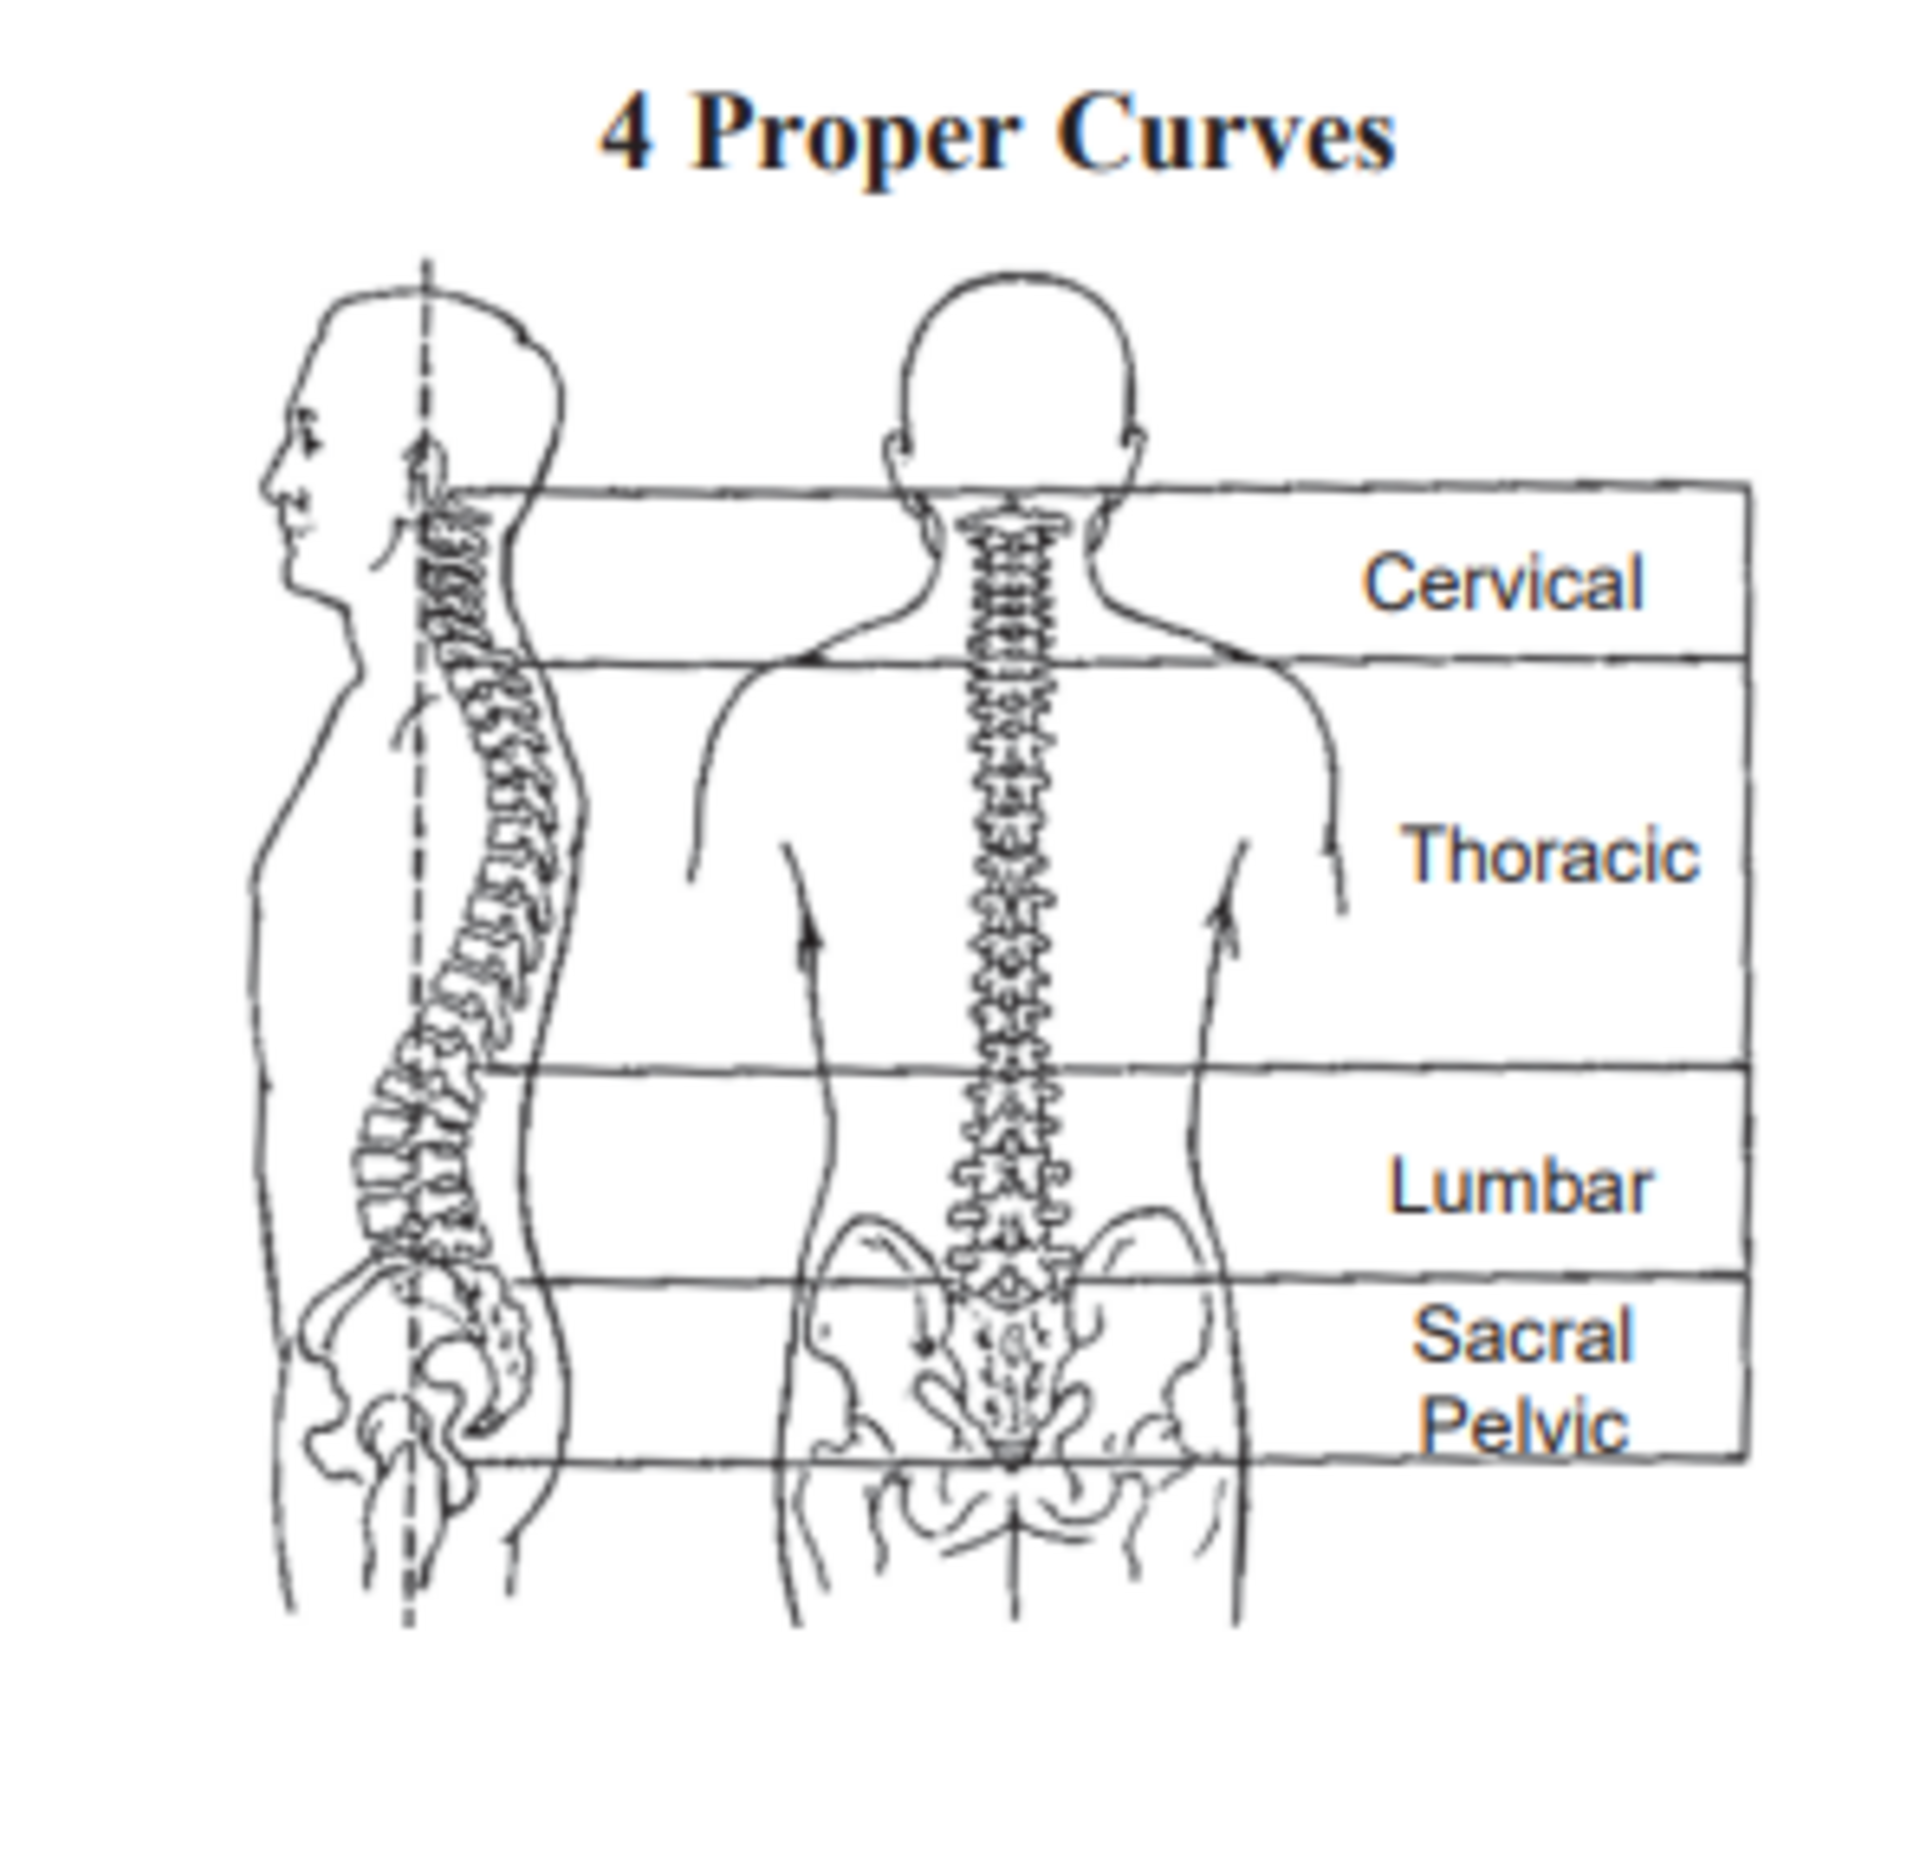
Proper posture is an important part of injury prevention. Your spine has four curves. The purpose of these curves is to make the spine as strong as possible as well as to absorb shock. When the curves are in proper alignment, your weight is supported by the bones, and less stress is placed on the surrounding joints, ligaments, and muscles. Loss of these “normal” curves due to poor sitting or standing posture or bad body mechanics can lead to injury. The following exercises will help you maintain proper alignment and protect you from injury.
1. Finding your balanced position in sitting:
A. Rock your pelvis backward so you are sitting on your tailbone, this causes your back to flatten. B. Now, rock your pelvis forward so your weight shifts forward to your thighs, causing your back to arch. Rock back and forth this way and stop when you feel you are midway between a flat back and an arched back. C. You should now be sitting in a neutral spine position. This can also be done standing.
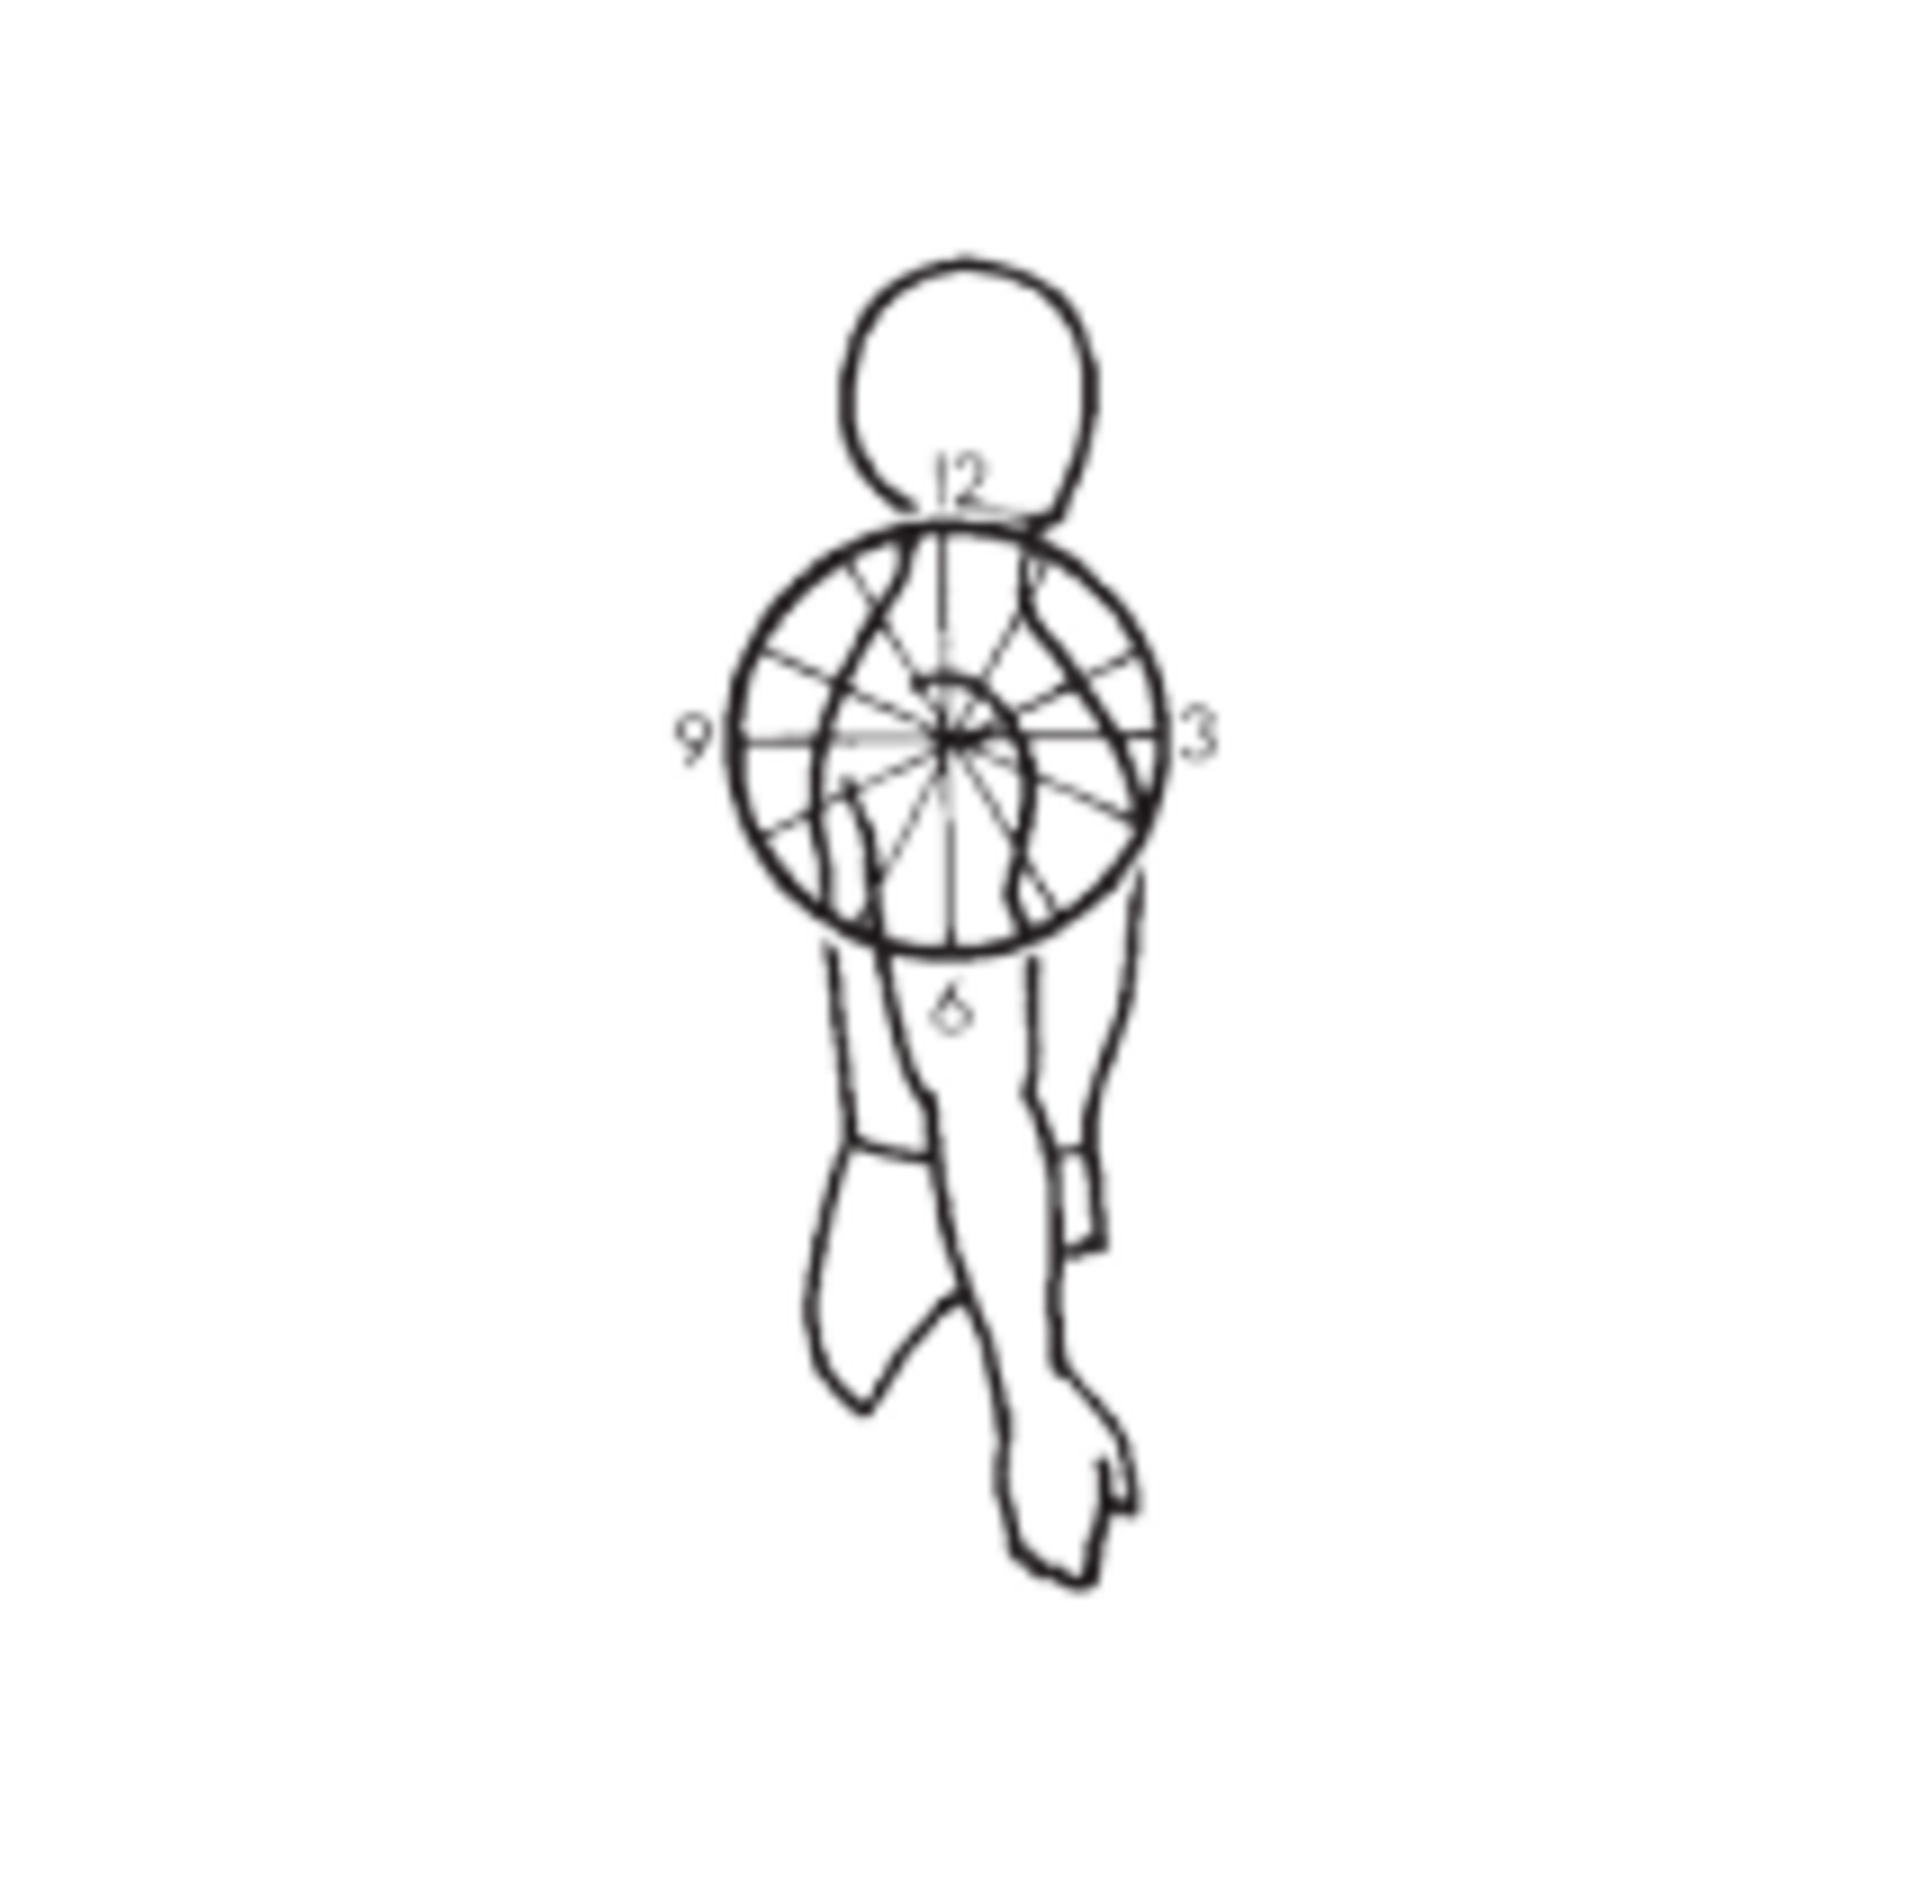
2. Shoulder Blade Clock Sit or stand with your back in a neutral position. Imagine a clock on the side of your shoulder (see diagram). Move both shoulders up and forward to the 2 o’clock position, then move them straight back to the 11 o’clock position, then let shoulder blades drop to a down and back position at 7 o’clock. This is the correct shoulder blade position for proper posture.
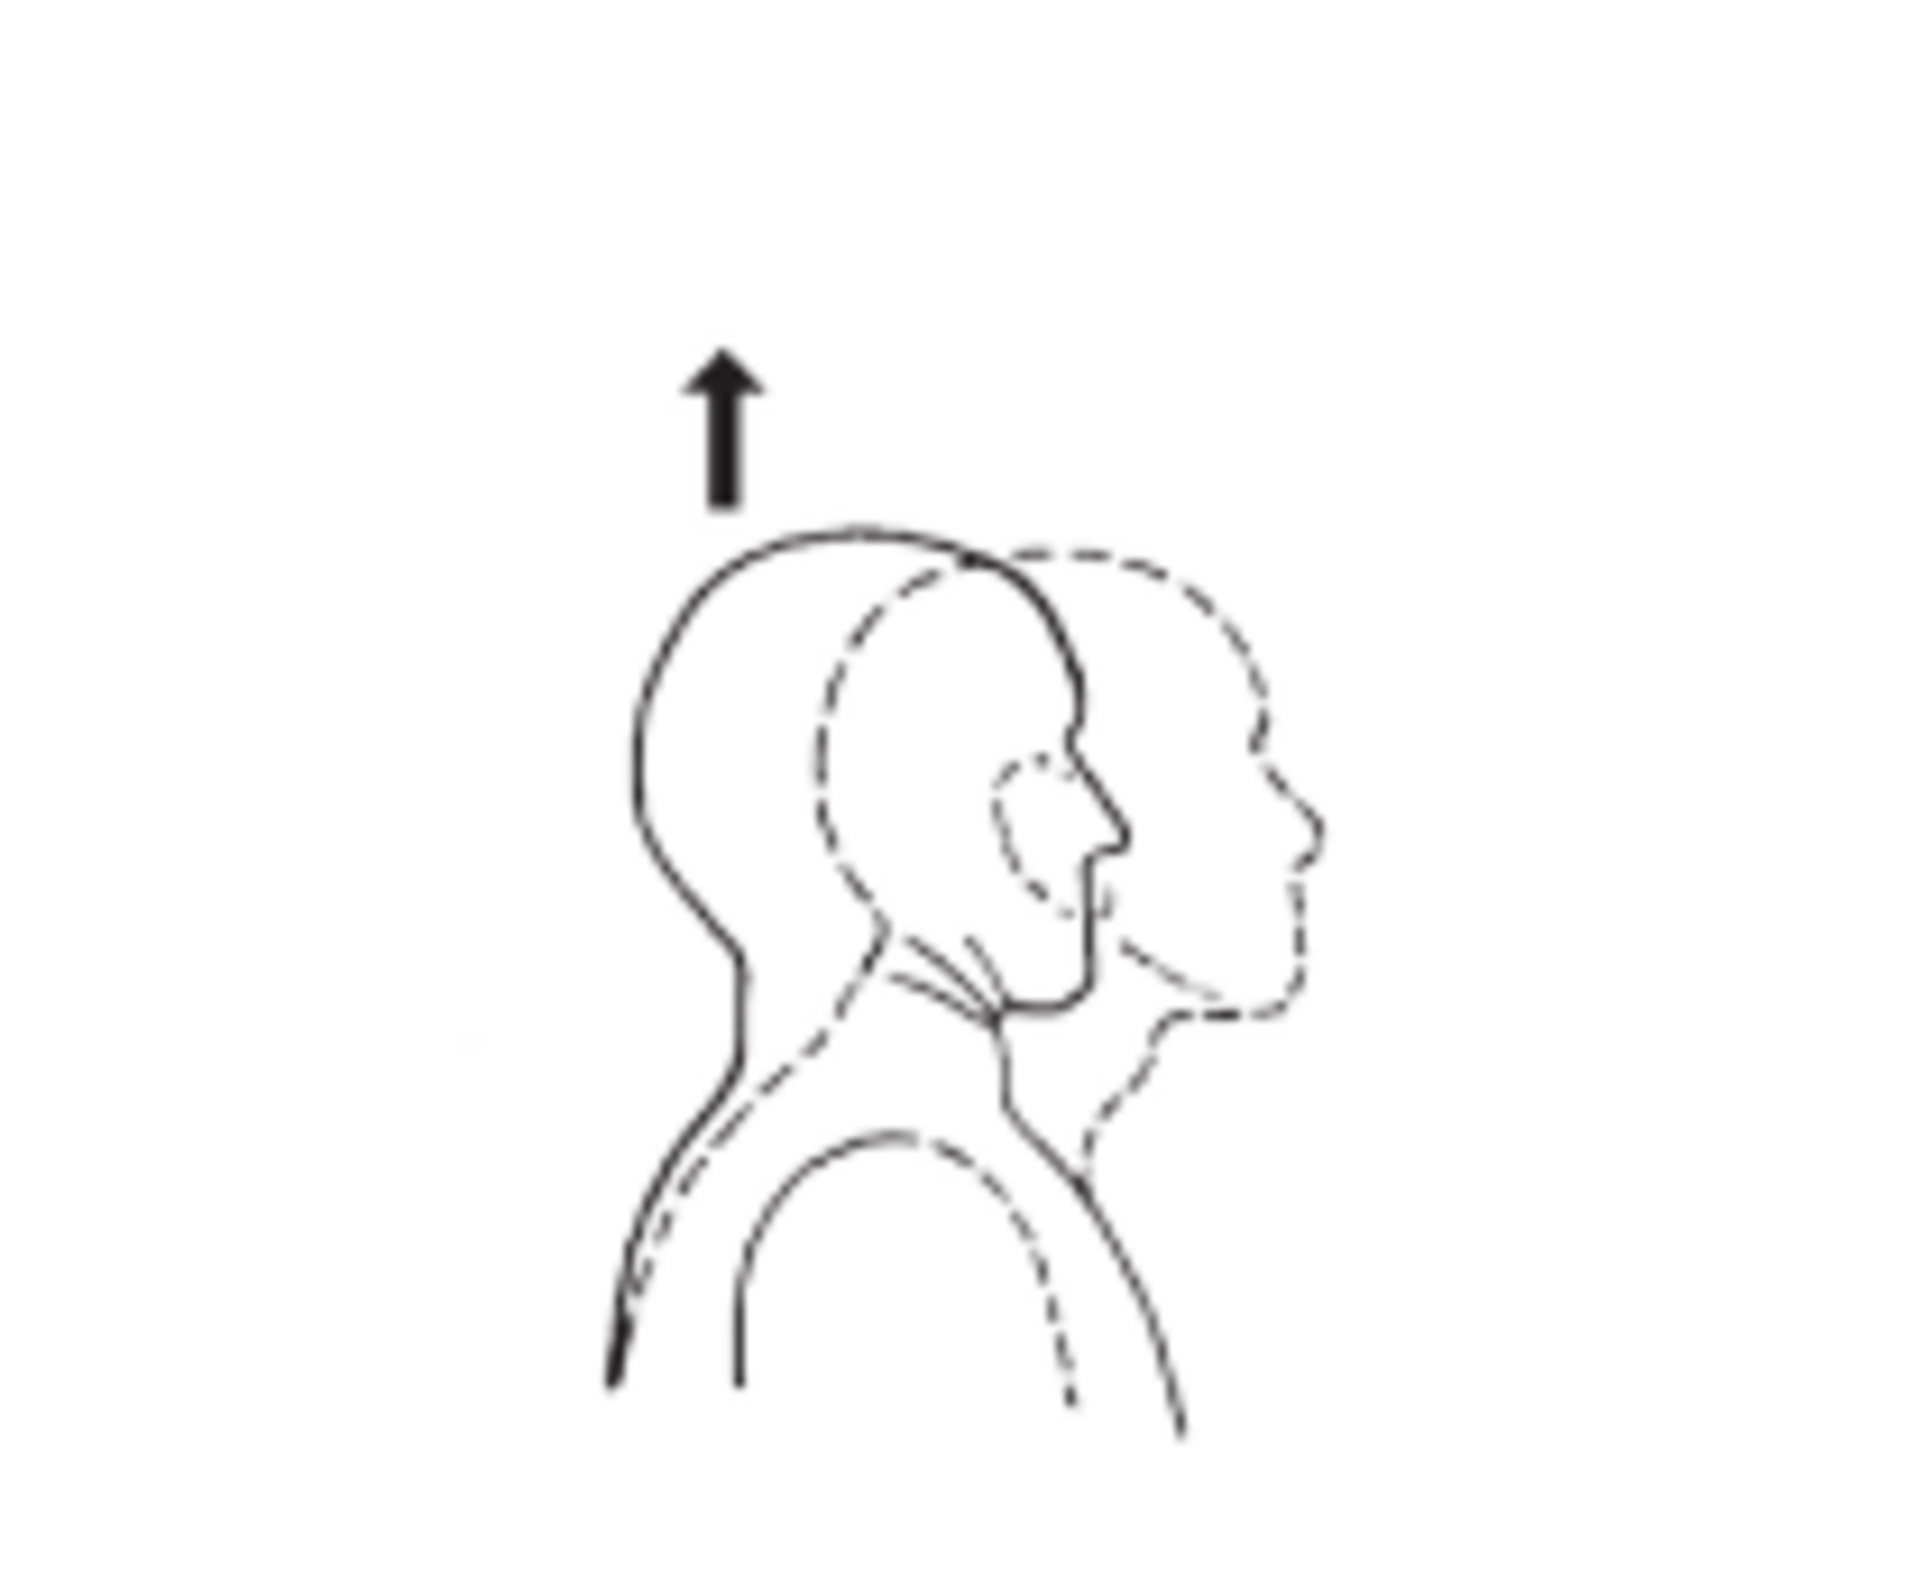
3. Chin Tucks
Sit up tall with your spine in a neutral position and your shoulder blades down and back, keeping your eyes and chin level. Pull your head back and up tall as if you were being pulled by a string from the top of your head. This is the correct head position for proper posture.
The above exercises allow the low back, shoulders, and head to be in proper alignment.
Try to maintain this position while working on the job, at home, during sports, and during exercise.
Try to maintain this position during the following postural exercises.
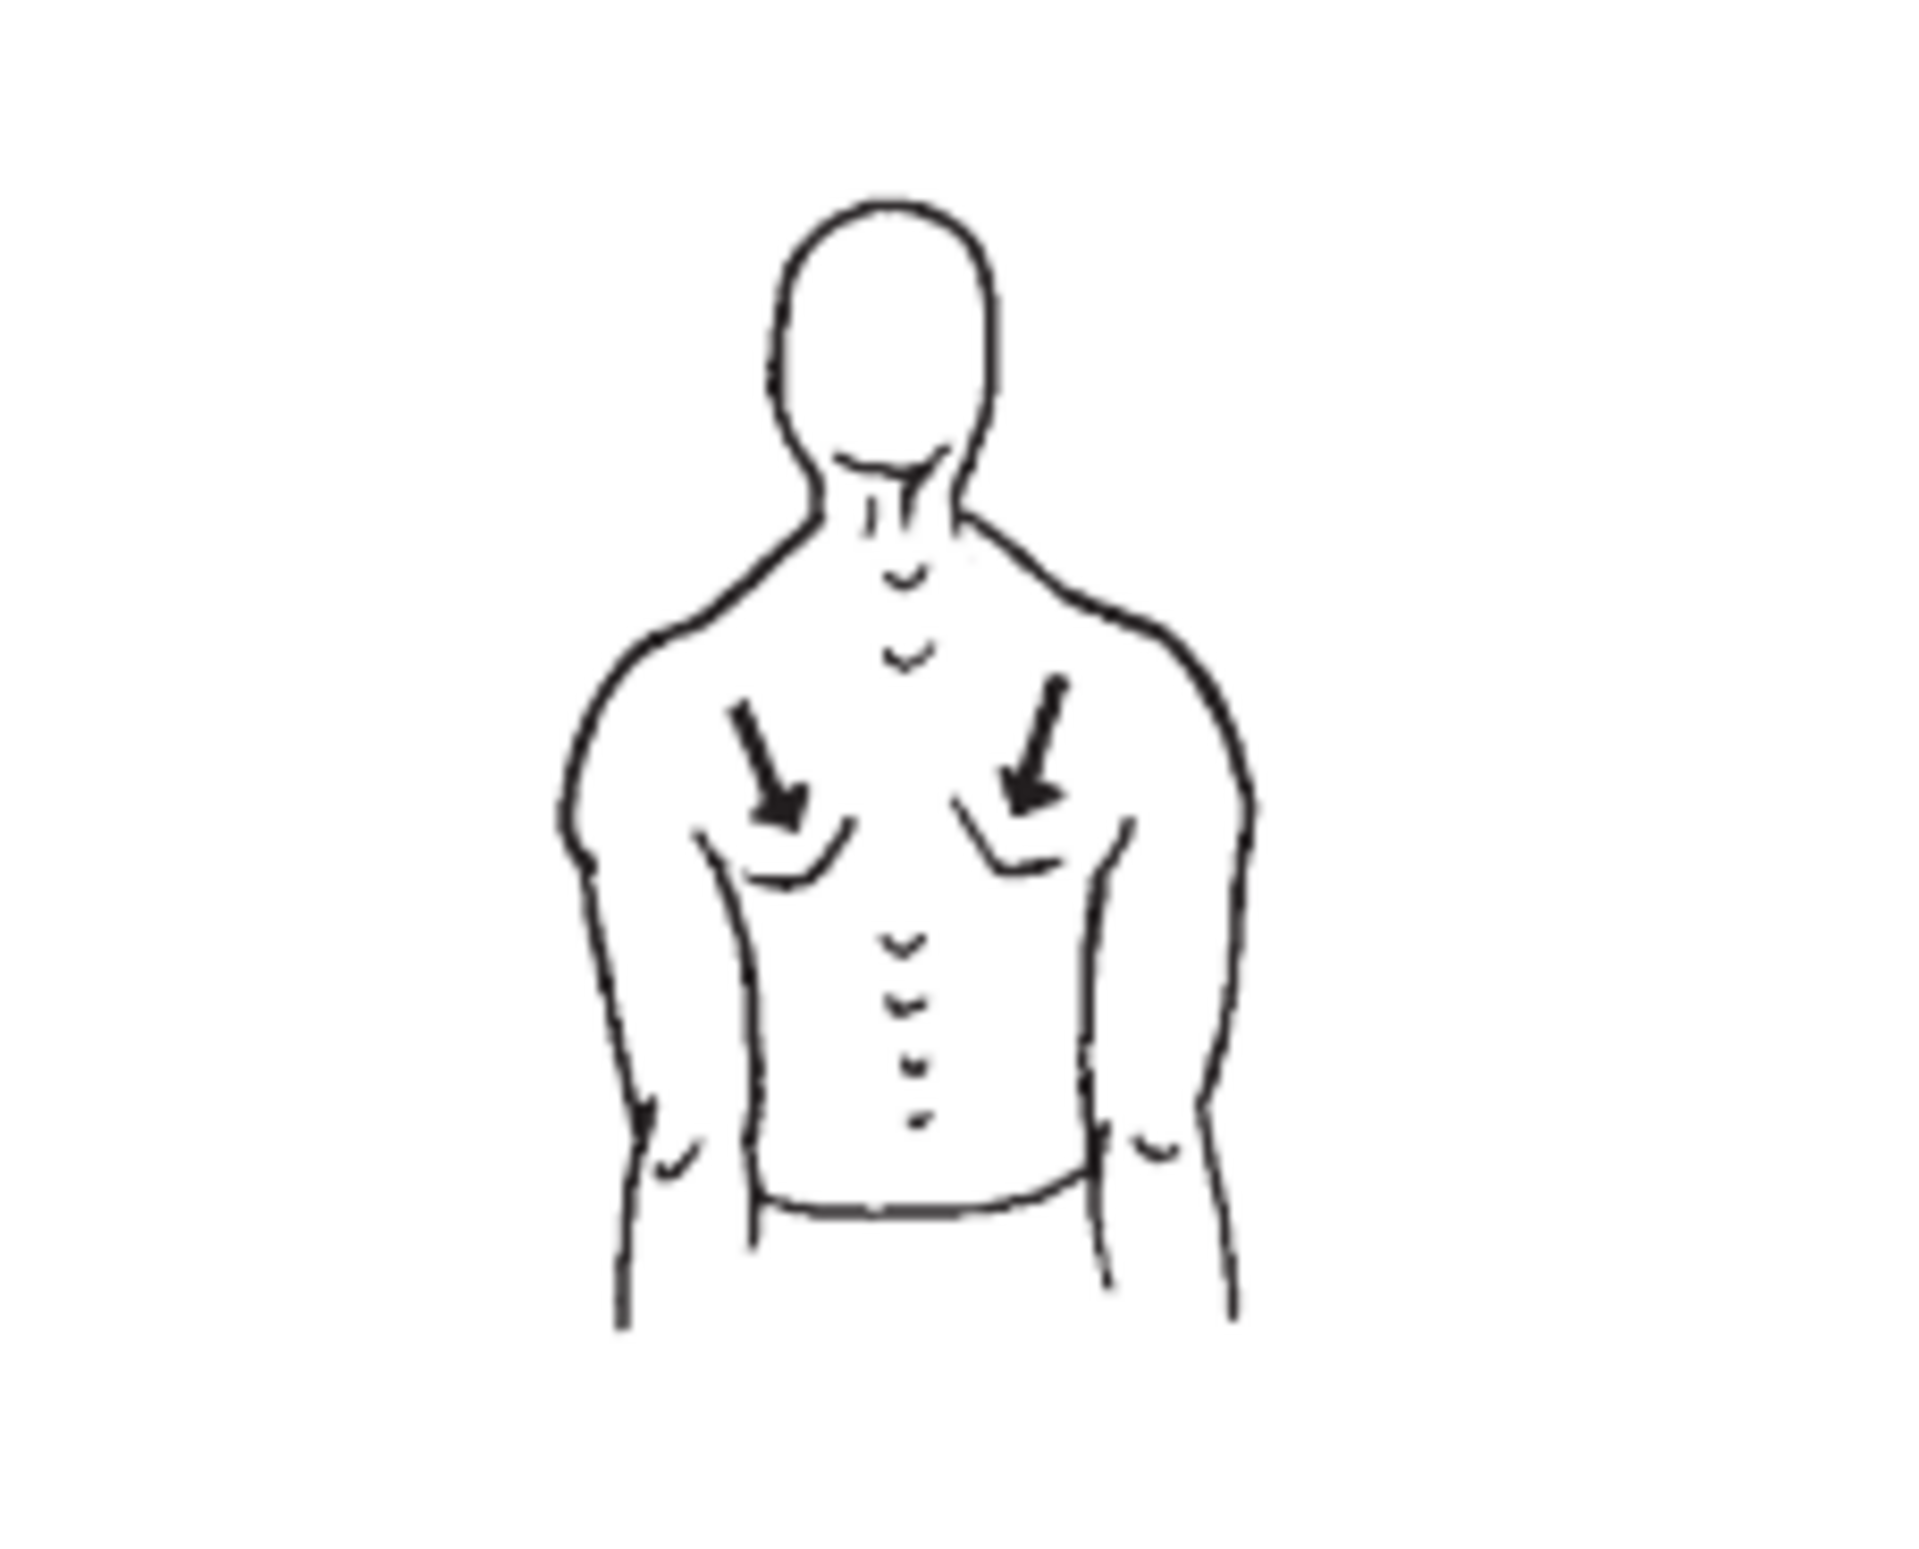
4. Shoulder Blade Posterior Depression
Pull your shoulder blades down and in toward your spine as if you were going to put them into your opposite back pockets. Hold for 5 seconds.
• Avoid shrugging your shoulders
• Arms should not pass behind the plane of the body
Begin sets, reps, times/day Progress to sets, reps, times/day
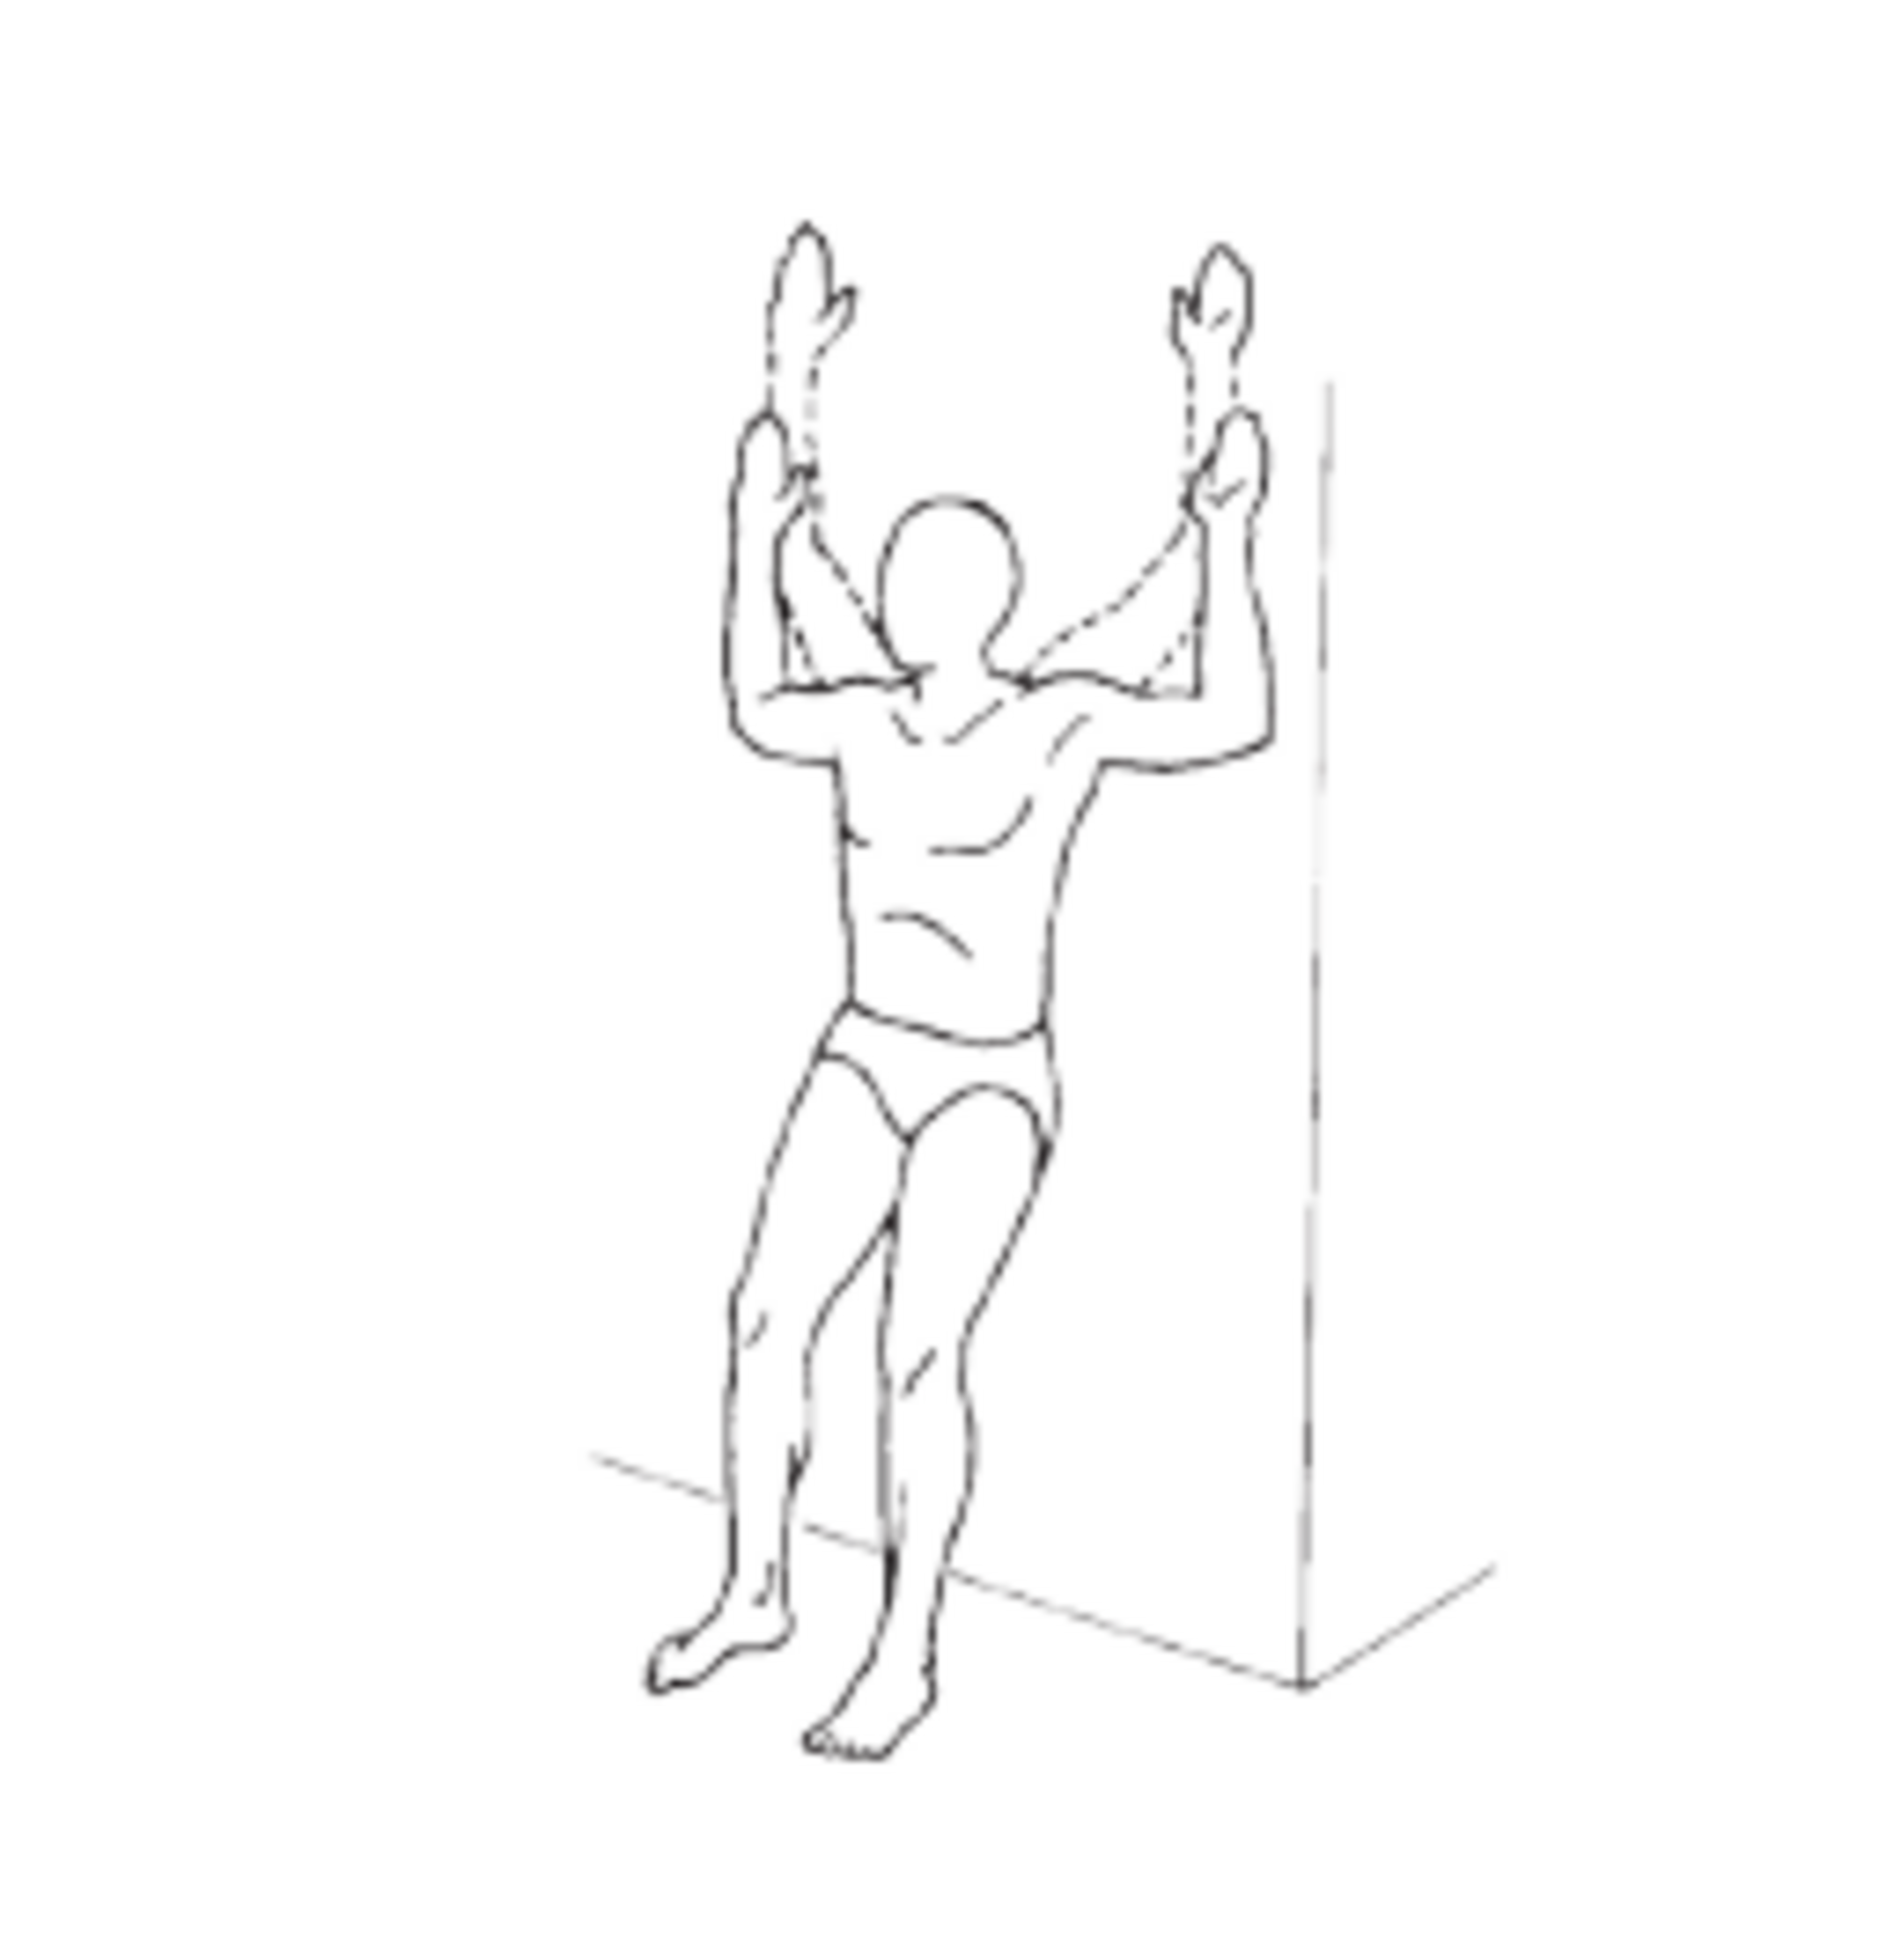
5. Arm Raise Against Wall
Standing with your back against the wall, feet hip-width apart and 12 to 18 inches away from the wall, slide your arms up the wall, elbows bent, keeping the wrist and elbows in contact with the wall. Hold the position seconds, then lower your arms. Repeat times.
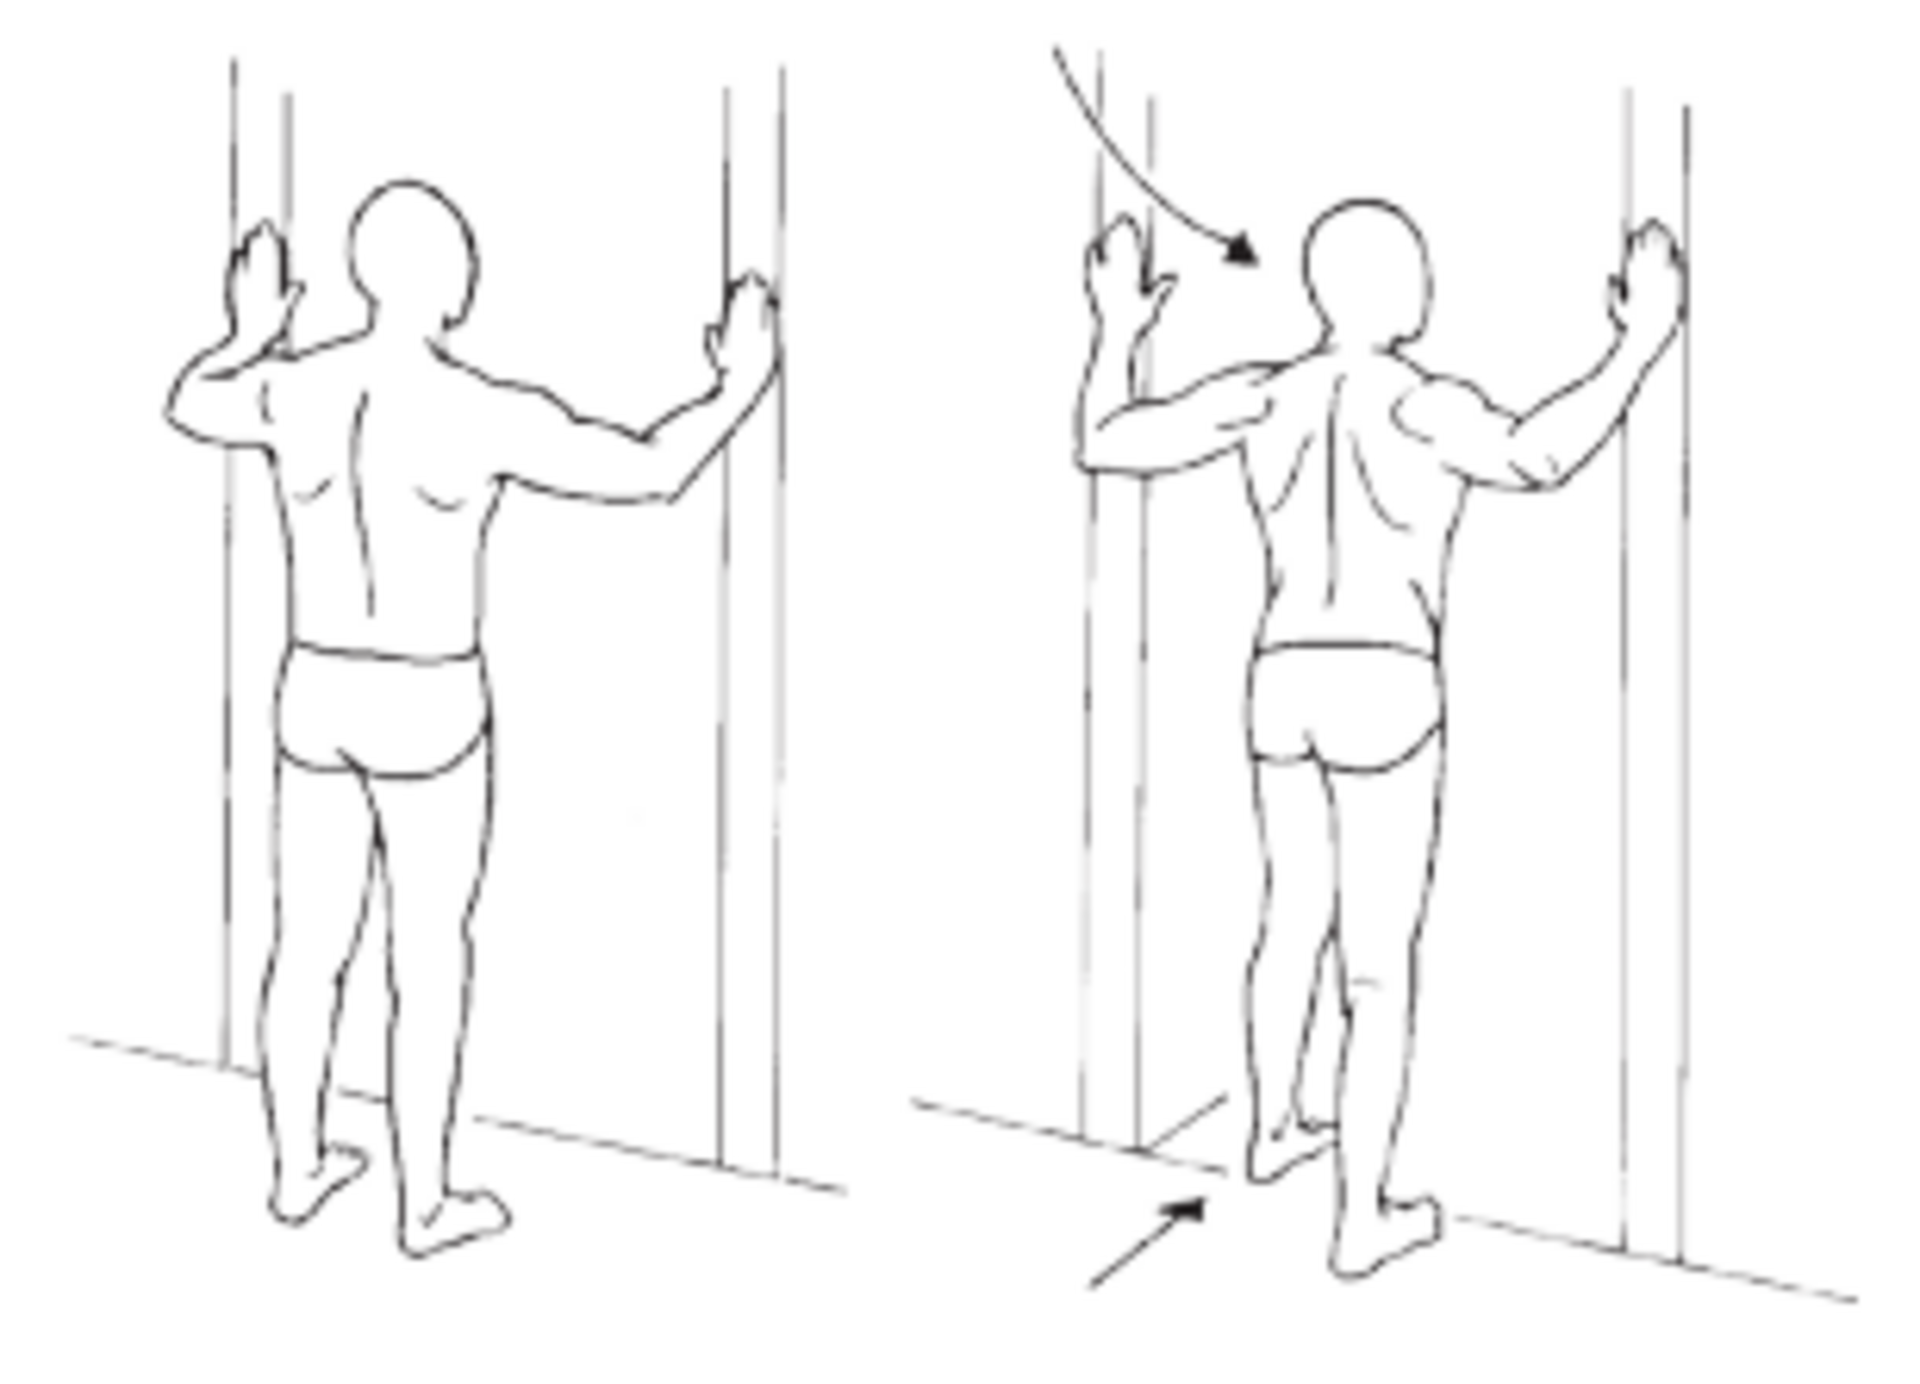
6. Pectoralis Stretch
Stand in a doorway with elbows at shoulder level. Take a small step forward into the doorway until you feel a stretch in the chest muscles. Hold this stretch for 20 to 30 seconds, times. Raise arms 2 to 3 inches. Repeat stretch as above. Raise arms another 2 to 3 inches. Repeat.
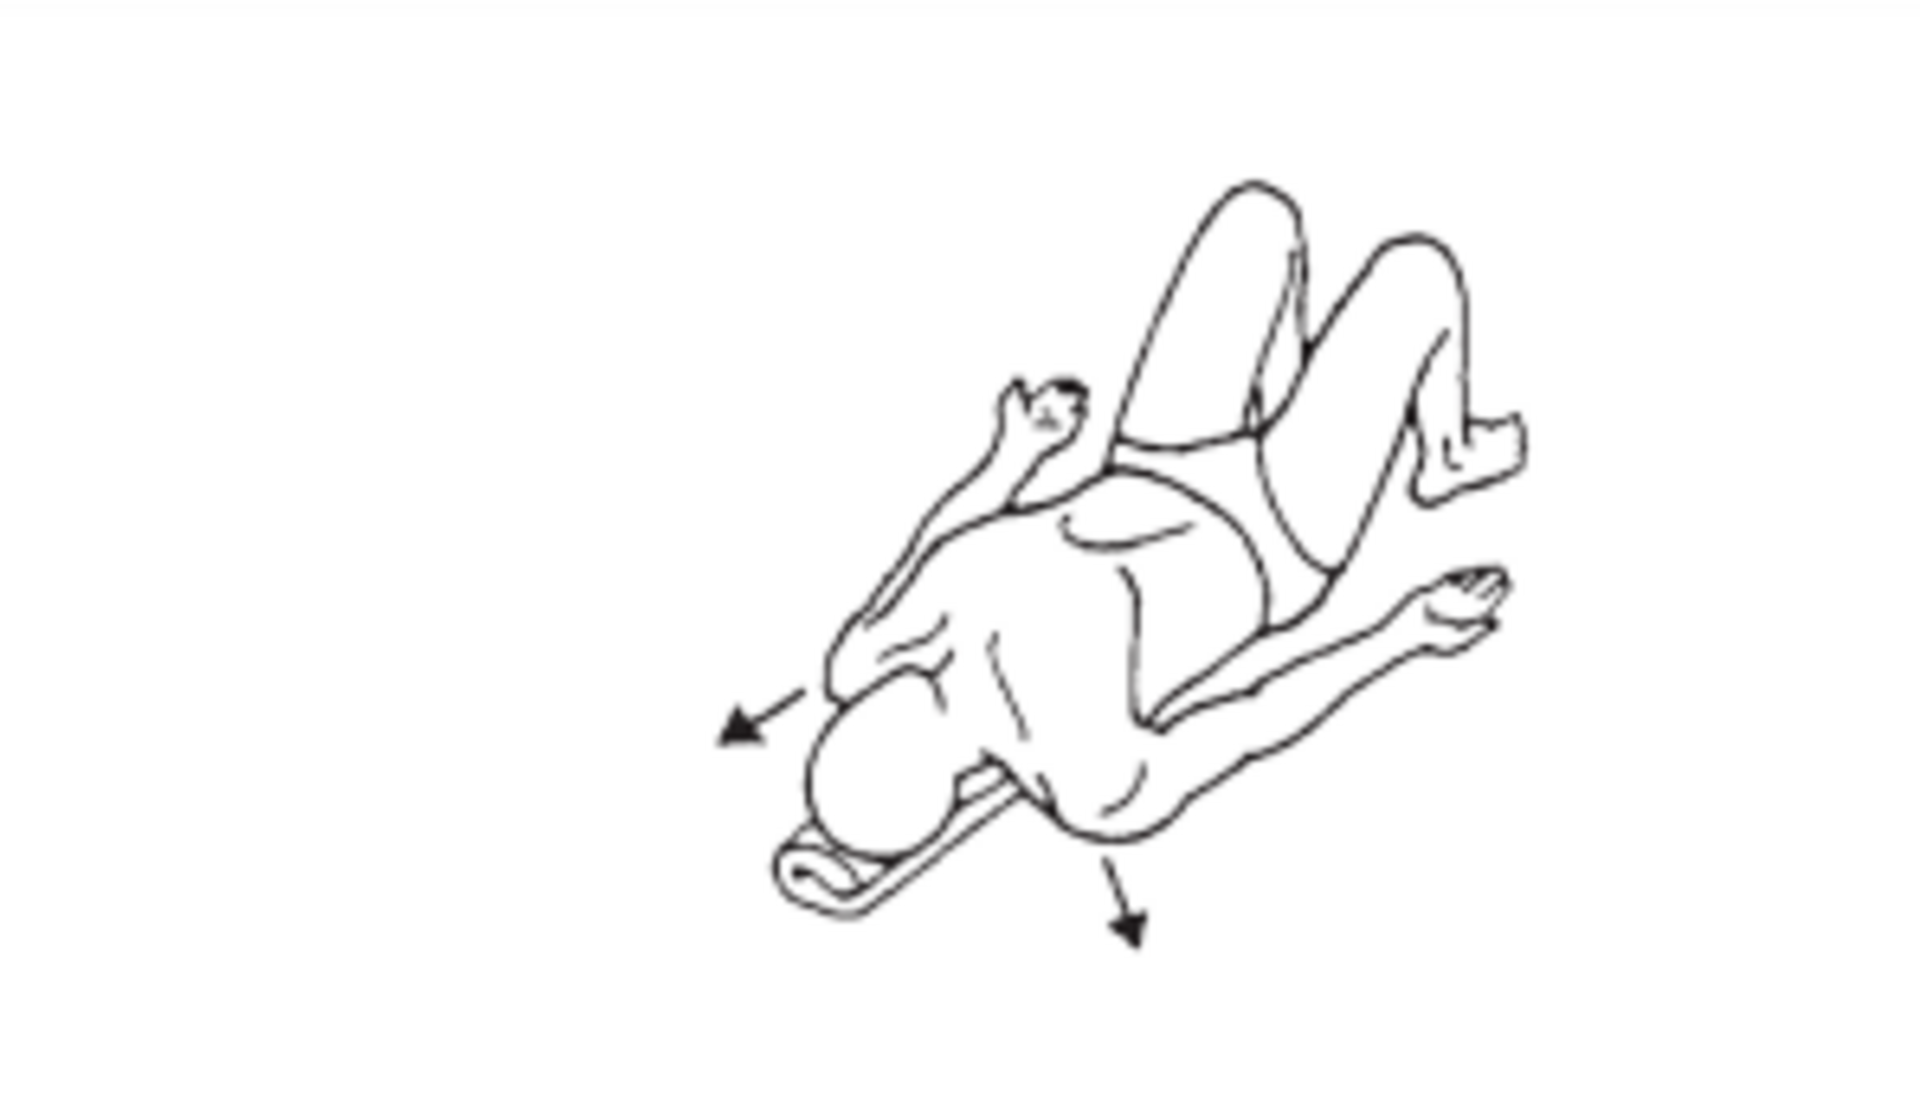
7. Towel / Foam Roll Stretch
Lie on a rolled towel or foam roll placed lengthwise down your spine. Position your shoulder blades in the down and back positions. Rest your arms on the floor
with your palms up. Maintain this stretch for seconds/minutes.
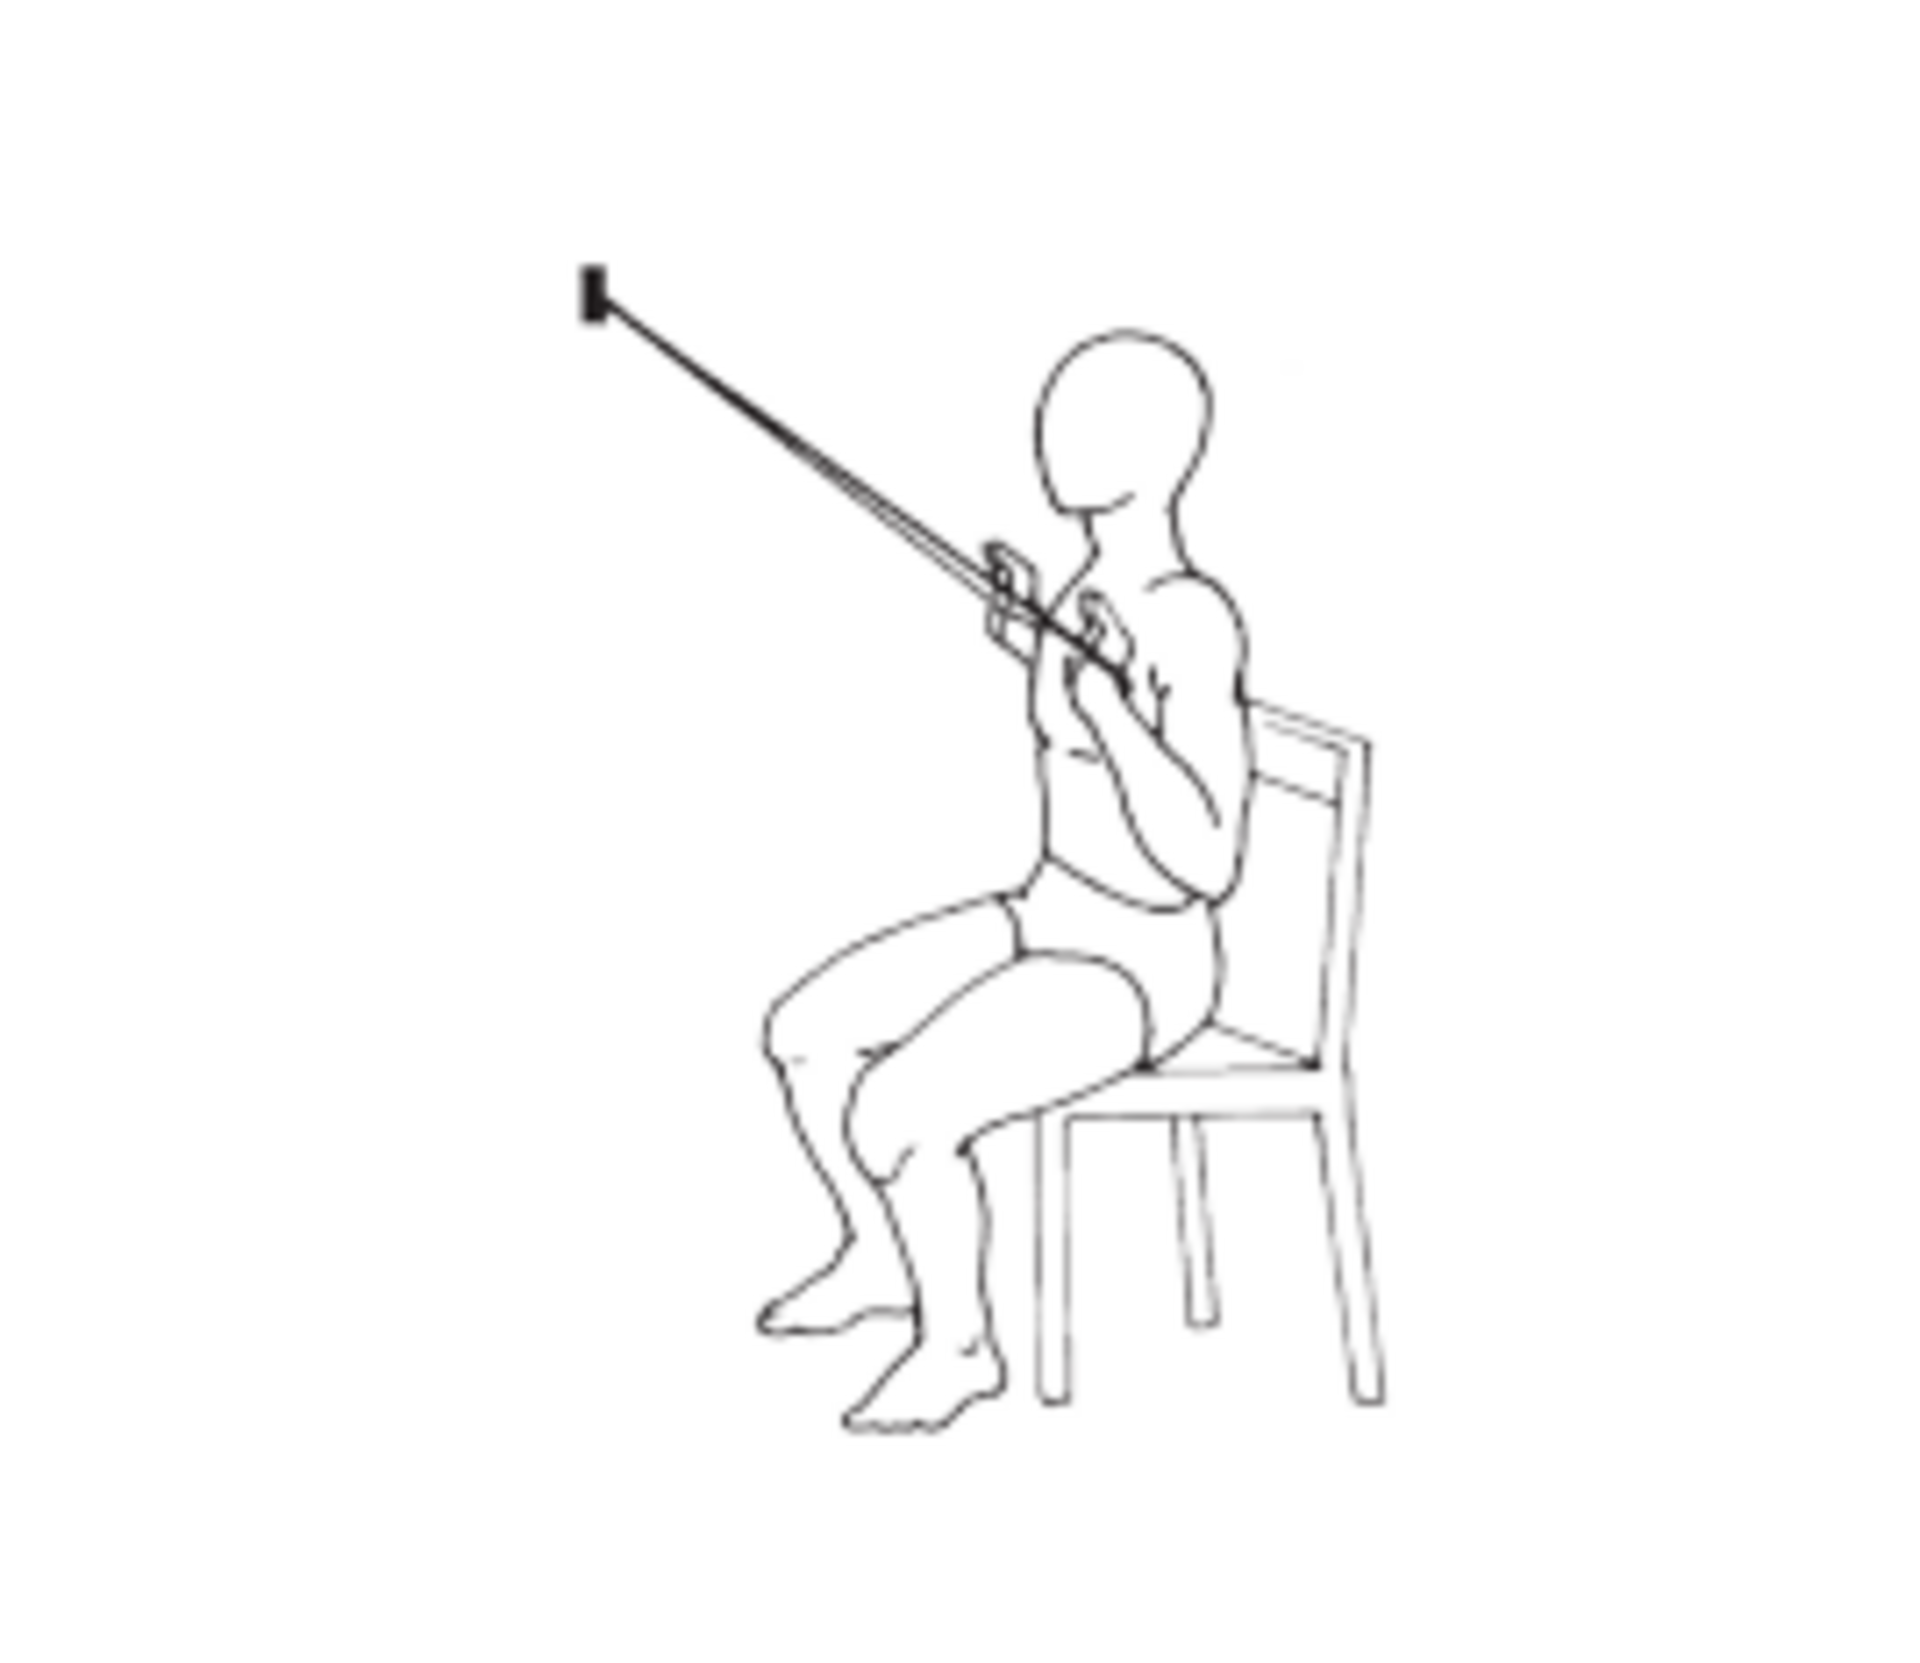
8. Scapular Strengthening
With theraband attached overhead, grasp each end with palms facing outward. Squeezing shoulder blades into the down and back position, bring elbows down
toward your waist, keeping your hands over your elbows. Hold seconds. Repeat times.
Disclaimer: The information provided here should not be used during any medical emergency or for the diagnosis or treatment of any medical condition. The information is provided solely for educational purpose and should not be considered a substitute for medical advice.